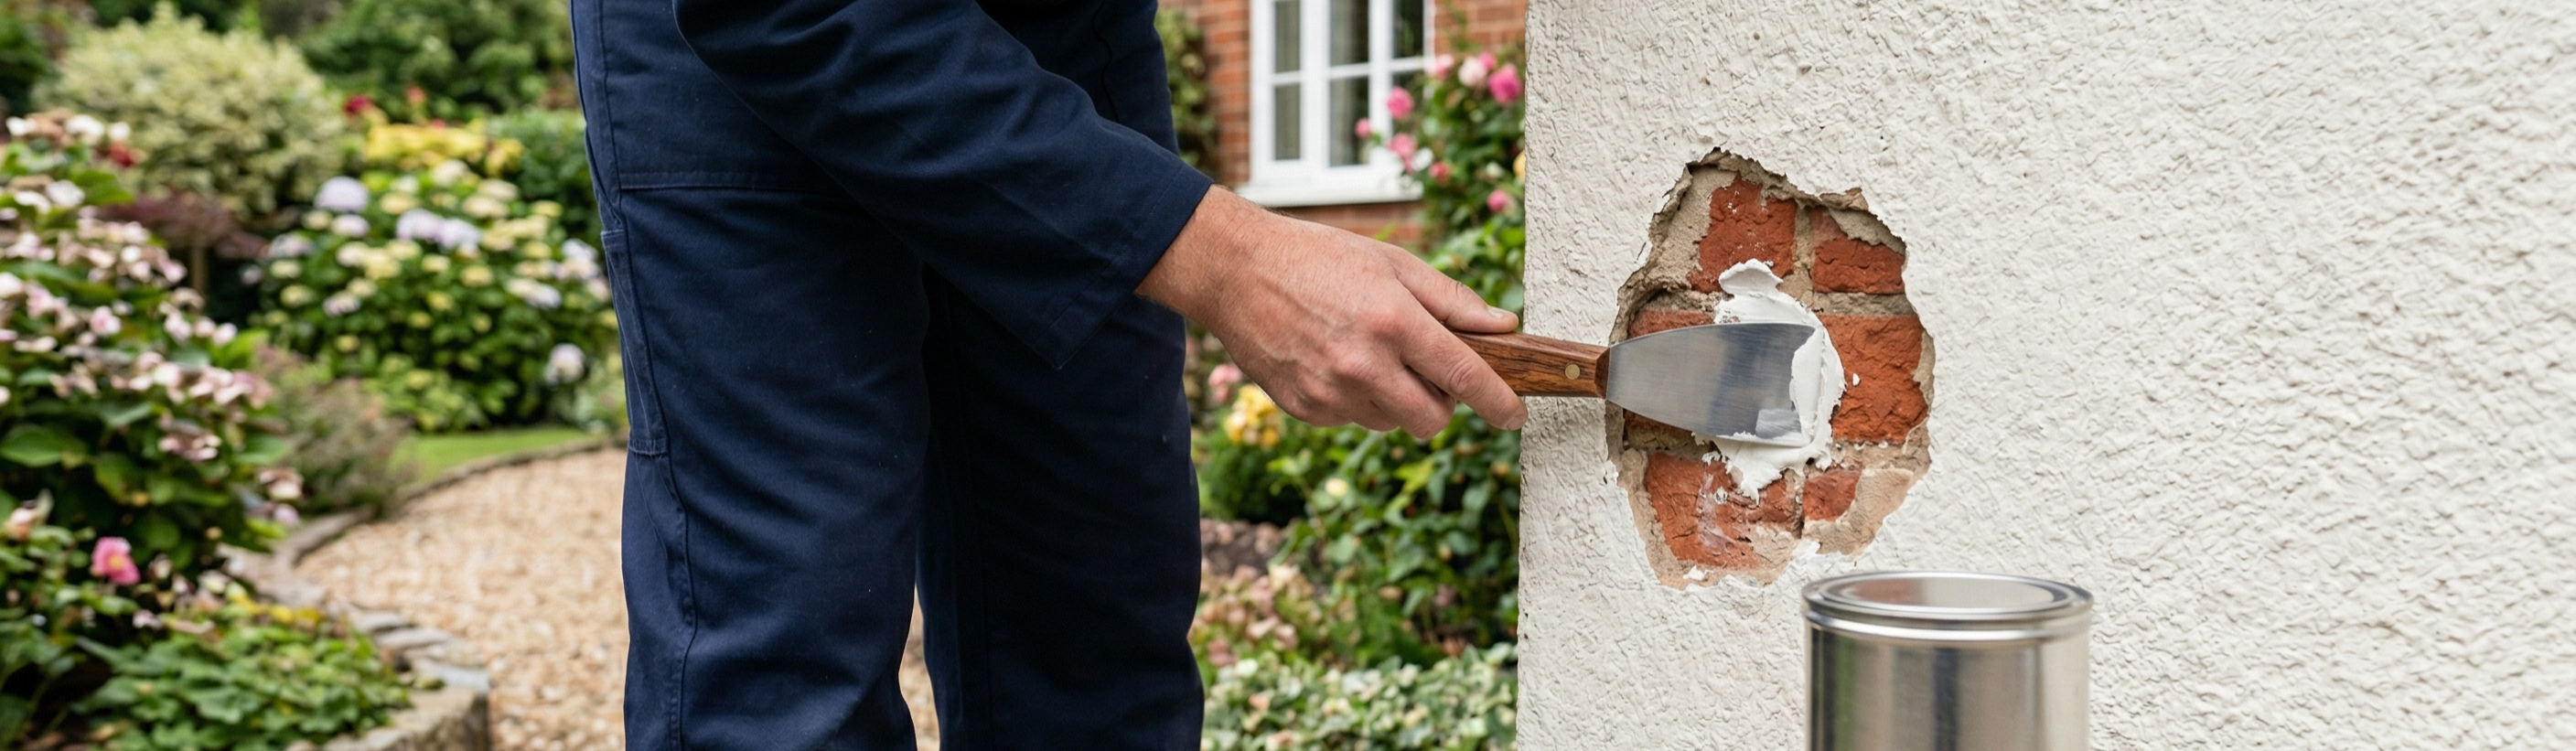
You have removed an old satellite dish, an outside light, or a rusty pipe bracket. You are left with a jagged, ugly hole in your masonry. It’s about the size of a golf ball - maybe bigger. You head to the DIY store. In one hand, you have a tub of ready-mixed Exterior Filler (like Polyfilla or Toupret). In the other, you have a bag of Sand and Cement (Mortar).
The filler costs £15 for a small tub. The mortar costs £5 for a massive bag. Is the expensive tub better? Or is the cheap bag the professional choice? The answer depends entirely on the depth of the hole.
Using the wrong material here leads to two problems: Slumping (where the filler slides out of the hole) or Cracking (where the filler shrinks and falls out). Here is how to choose the right weapon for the hole.
1. The Tub: Exterior Filler (Cosmetic & Shallow)
Ready-mixed or powder-mix fillers are sophisticated products. They are made of fine resins, polymers, and fillers.
-
The Limit: They are designed for Surface Defects.
-
The Depth Rule: Most exterior fillers have a maximum depth limit of 10mm - 20mm per layer.
-
Why?
-
Shrinkage: Although they claim "Non-Shrink," if you pack a deep hole full of resin paste, the moisture gets trapped. As it eventually evaporates, the core shrinks, pulling away from the edges.
-
Cost: Filling a fist-sized hole with high-grade filler is like filling a pothole with liquid gold. It is economically inefficient.
Use Exterior Filler For:
-
Screw holes (from wall plugs)
-
Surface chips on corners
-
Shallow cracks (<5mm deep)
-
Smoothing over rough textures
2. The Bag: Sand & Cement Mortar (Structural & Deep)
Repair mortar is simple, crude, and strong. It is essentially concrete without the big stones.
-
The Benefit: It has "body." The sand grains act as a skeleton, allowing you to fill deep voids without the material shrinking or cracking.
-
The Strength: It cures rock hard. If you need to drill into the repair later (to hang a new light), you must use mortar. You cannot drill into soft decorators filler; the wall plug will spin.
Use Mortar For:
-
Pipe holes (waste pipes/flues)
-
Large chunks of missing brick or render
-
Holes deeper than 20mm
-
Areas that need to hold weight
3. The "Two-Stage" Fill: The Professional Secret
What if you have a deep hole but you want a smooth, paintable finish? Mortar is gritty and hard to sand smooth. The solution is to use both.
Step 1: The Bulk Fill (Mortar)
-
Clean the hole and dampen it with water (or SBR primer).
-
Pack the hole with stiff Sand & Cement mortar.
-
Don't fill it flush. Leave it recessed by about 5mm (shy of the surface).
-
Scratch it: While wet, scratch lines into the surface to create a "key."
-
Let it dry (24 hours).
Step 2: The Face Fill (Polyfilla)
-
Once the mortar core is hard, apply your fine Exterior Filler over the top.
-
Bring it flush with the wall.
-
Sand it smooth once dry.
The Result: You get the structural strength and low cost of mortar, with the smooth, invisible finish of fine filler.
4. Application Tips for Deep Holes
If you decide to use Mortar, there is an art to stopping it from falling out.
-
Consistency: Mix it "Stiff." It should hold its shape like a snowball. If it is sloppy or runny, it will slump down the wall.
-
Packing: Push it in hard. Use a piece of wood or the handle of your trowel to ram the mortar into the back of the hole. Air pockets = weak spots.
-
Layering: If the hole is huge (e.g., a brick removed), don't try to fill it in one go. Fill it halfway, let it set, then fill the rest. Gravity is not your friend.
5. What About Expanding Foam?
For very deep voids (like a core-drilled hole going right through the wall), you should not fill the entire cavity with cement. It creates a "Cold Bridge" (damp spot) on the inside wall.
-
The Core: Squirt Expanding Foam deep into the hole to fill the cavity and provide insulation.
-
The Cut Back: Once hardened, cut the foam back 30mm from the surface.
-
The Cap: Fill the final 30mm with Repair Mortar to seal it weather-tight.
Conclusion
-
Deep hole? Use Mortar
-
Shallow scratch? Use Filler
-
Perfect finish? Use Mortar capped with Filler
Share:
Repairing Blown Render: Patching Holes Before You Paint
Priming Common Bricks for Adhesion